1、安装 SSH 服务器
sudo apt update && sudo apt upgrade
sudo apt install openssh-server
2. 配置 SSH 服务器
1.打开 SSH 服务器配置文件:
sudo vim /etc/ssh/sshd_config
Include /etc/ssh/sshd_config.d/*.conf

#Port 22
#AddressFamily an
#允许所有IP访问
ListenAddress 0.0.0.0
#ListenAddress ::

HostKey /etc/ssh/ssh_host_rsa_key
HostKey /etc/ssh/ssh_host_ecdsa_key
HostKey /etc/ssh/ssh_host_ed25519_key

禁止root权限
PermitRootLogin no
开启密钥配置
PubkeyAuthentication yes
旧版本的ssh加密兼容
PubkeyAcceptedKeyTypes +ssh-rsa
# Expect .ssh/authorized_keys2 to be disregarded by default in future.
AuthorizedKeysFile      .ssh/authorized_keys .ssh/authorized_keys2
启用基于RSA密钥的认证方式
RSAAuthentication yes
# To disable tunneled clear text passwords, change to no here!
PasswordAuthentication yes
#PermitEmptyPasswords no
# Change to yes to enable challenge-response passwords (beware issues with
# some PAM modules and threads)
KbdInteractiveAuthentication no
# and KbdInteractiveAuthentication to 'no'.
UsePAM yes
X11Forwarding yes
PrintMotd no
# Allow client to pass locale environment variables
AcceptEnv LANG LC_*
UseDNS no
# override default of no subsystems
Subsystem sftp /usr/lib/openssh/sftp-server
sudo systemctl restart ssh
sudo ufw allow ssh
sudo ufw status
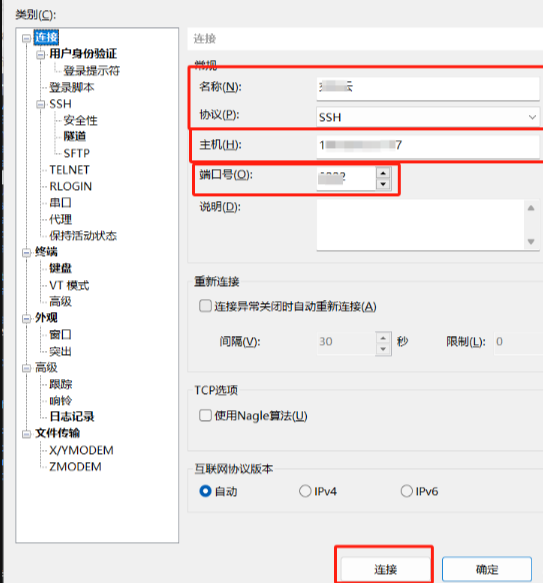
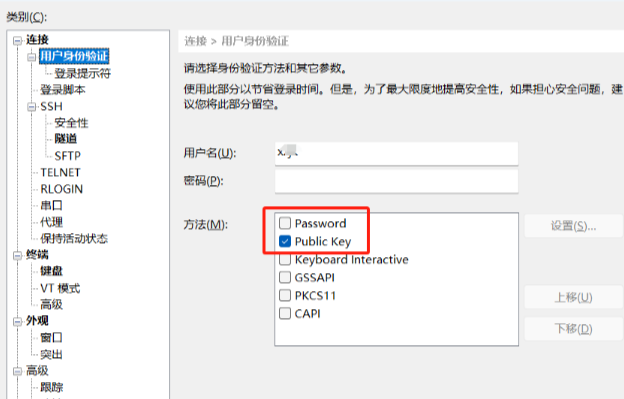
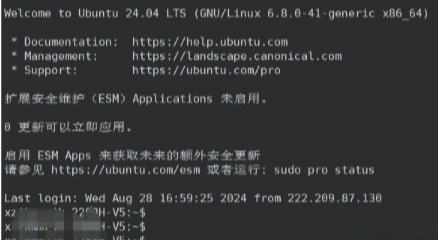
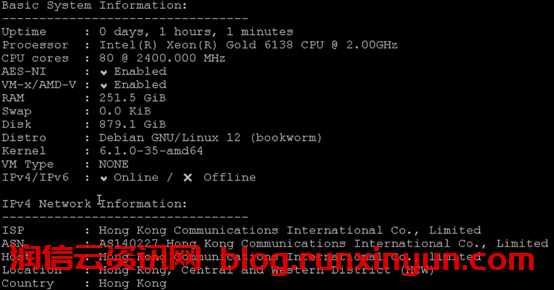
3、测试 SSH 连接
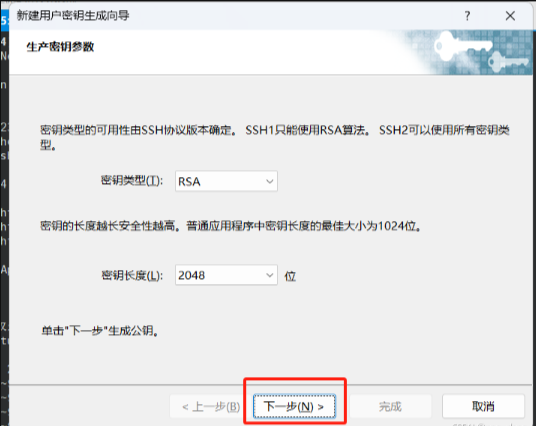
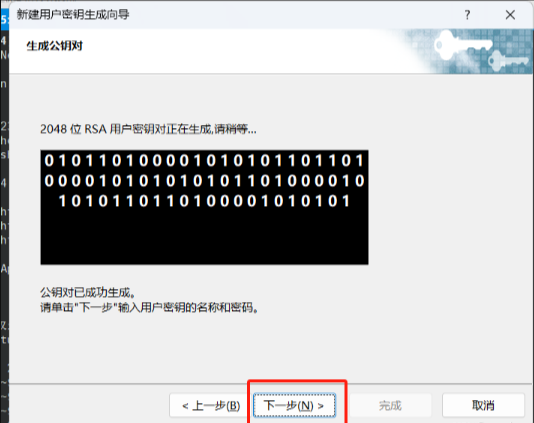
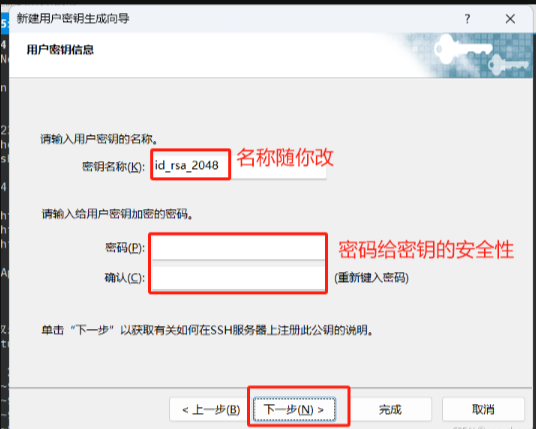
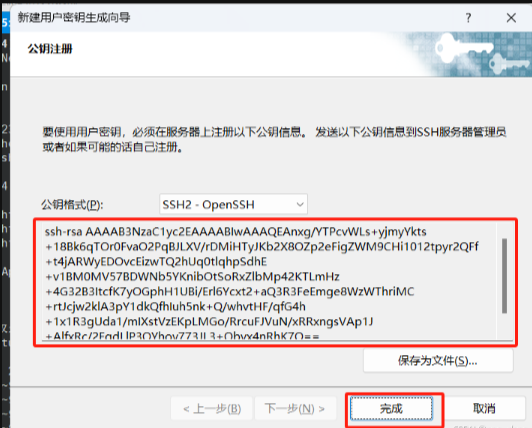
4.密钥配置:
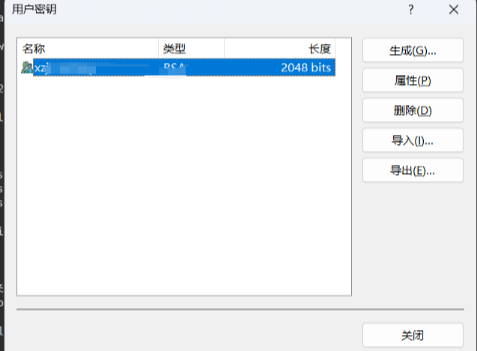
sudo vim ~/.ssh/authorized_keys
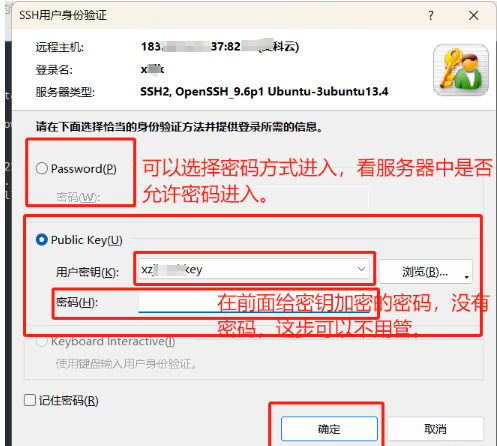
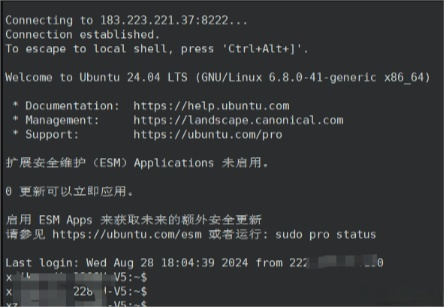
注意:前提是其它客户端(电脑),能够访问到该服务器!!!!
本文链接:https://blog.runxinyun.com/post/251.html 转载需授权!










留言0